
I thought it would be good to share this tutorial I made a while back, it is for sewing a hexagon by machine. the beginning of the tutorial is the same for hand sewing I will do something later with regards to hand sewing.
Using your template cut out your wadding, backing and main fabric, put your backing fabric wrong side up, place the larger template on top so it lines up exactly.
Place your wadding centrally on top in the recess. The templates allow you to get your wadding and main fabric placed centrally which then allows you to turn the binding over evenly, this is the beauty of the 'QAYG' templates

Place your main fabric on top of the wadding.

Pin in place (I have used Magic pins for this, you will find out later why they are magic!).You can then remove the large template.

Fold the edge of the backing fabric to meet the edge of the central fabric and finger press.

Fold over again so that this folds over the central fabric, pin.

Keep folding and pinning all around your shape.


When you come to the last edge finger press the two edges that are already folded and then fold to the central fabric and then fold again, pin.

Now your shape is completely pinned.

Now you can press your shape and this is where the magic pins are brilliant as you can press right over the top of them, you don't need to remove them they won't melt as they are made from Silicone, this really does make machine stitching these shapes easier.
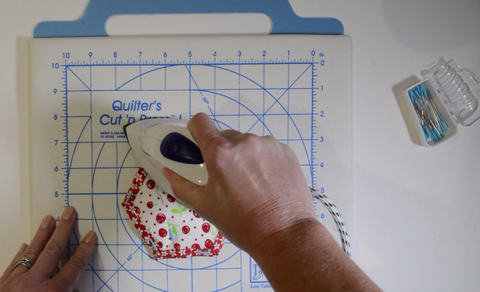
Now you can start machining your shapes, if you are organised you could get a few ready to sew at the same time. Stitch close to the edge of the binding.

Hey Presto one shape made.

You can go onto machine the shapes together using a zig-zag stitch or other decorative stitch, or you can join them by hand.
Here is the link for the YouTube video.
I'll be doing more YouTube videos so please don't forget to subscribe to my YouTube Channel.
'Just Get Sewing'
Love Nicola X